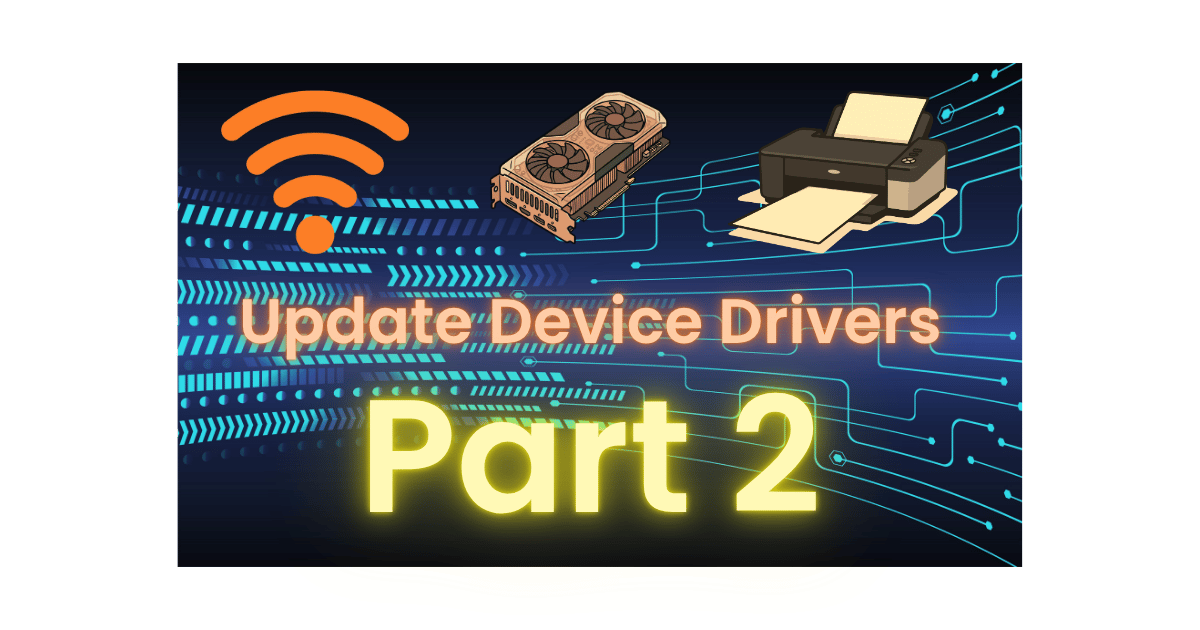
This is Part 2 of my series where I walk you through how to set up a new Linux install, particularly if you’re switching from another Operating System (OS), such as Windows. To read Part 1 (where I show you how to update your system), click here.
Yay! You installed Linux, you’re set to go . . . but are you?
Technically once your Linux install is up and running you can start clicking into programs and messing around with the OS. That might not be the best idea, though. Your PC has a bunch of other devices in it that support various activities (your network cards, Bluetooth antennas, GPU, etc.). Each of these devices speaks its own “language” so to speak. With multiple devices all communicating with your CPU in their own way, there needs to be a way to translate that machine talk into something your computer can understand. That is where drivers come in.
What are drivers and why do I need them?
As alluded to earlier, drivers are “interpreters” that translate the “language” that your devices speak into something that the CPU can understand. They are integral to the proper operation of your PC. Oftentimes a driver update can fix an issue, such as if your Wi-Fi antenna stops working. If you have NVIDIA devices in your PC, then updating drivers can really make a big difference! This is because Linux can use drivers that are made by the device vendor or it can use open source drivers. Whenever possible, proprietary drivers are preferred for the best performance.
How can I tell if I really need these drivers?
Do you have peripherals installed that could benefit from driver updates? Are you planning on adding enhanced functionality to your machine? As you explore answers to these questions, the best thing to do is to check your machine and see what what driver options you have:
If you have Zorin OS, Ubuntu, or most other Linux distros, go to your app launcher (or start menu as I demonstrate below) and click on “Settings.”

Depending on your distro, click “System” (or “about”)

Click “About”

Click “System Details”

Once you get into “System Details,” you should see your system’s basic peripherals. Take particular note of your graphics card. I’ve highlighted my PC’s Graphics section for convenience

What other devices should I check?
Other than your graphics card, you may want to check on your Bluetooth or Wi-Fi antennas, but only if they are not working properly. The same is true for printers or other physical devices such as drawing tablets, CD/Optical Drives (if you still listen to CDs like me), or anything else that fills a slot on your motherboard or a USB port.
How to check your drivers for updates
You can use this guide for most items that may need a driver update. To get started, be sure that your machine is connected to the Internet. Next, follow the earlier steps by going to Settings, System, but this time, click on “Software Updates.”

Depending on your system, you may see a dialog box pop up that immediately shows a status bar, essentially searching for available updates. Once the check is complete, the dialog box will look something like this:

Click “Settings” in the lower left corner, you’ll then see this window or something like it:

As shown above, click “Additional Drivers.” If there are any drivers, you’ll see them on the next screen (shown below). This is where you would see driver updates for the items I mentioned previously (Bluetooth/Wi-Fi Antenna, printers, etc. along with graphics card updates if there are any). Click the ones you’d like to apply and click on “Apply Changes” in the lower right corner of the window.

Important Point for NVIDIA Users
If you do have an NVIDIA GPU, it is HIGHLY recommended that you install the proprietary NVIDIA drivers as you’ll experience the best stability, animation quality and frame rates.
How Do I Know That the Driver Update Worked?
The best way to check that the driver update worked is to use the same steps as above (Settings, System, About). If you see NVIDIA and a model number under the “Graphics” section, you’re all set! If you don’t see NVIDIA/whatever you’re expecting to see, consult the manufacturer of your peripheral for additional options.
Wrap Up
We have updated your Linux system in Part 1 of this series and now we have updated your drivers here in Part 2. AWESOME! In Part 3 we will update the media codecs to make sure that videos play properly on your PC. I hope you’re enjoying the series so far. If you have any feedback or questions about this tutorial of any kind, feel free to leave a comment below and I’ll do everything I can to assist you. Have an absolutely awesome day!
Leave a Reply