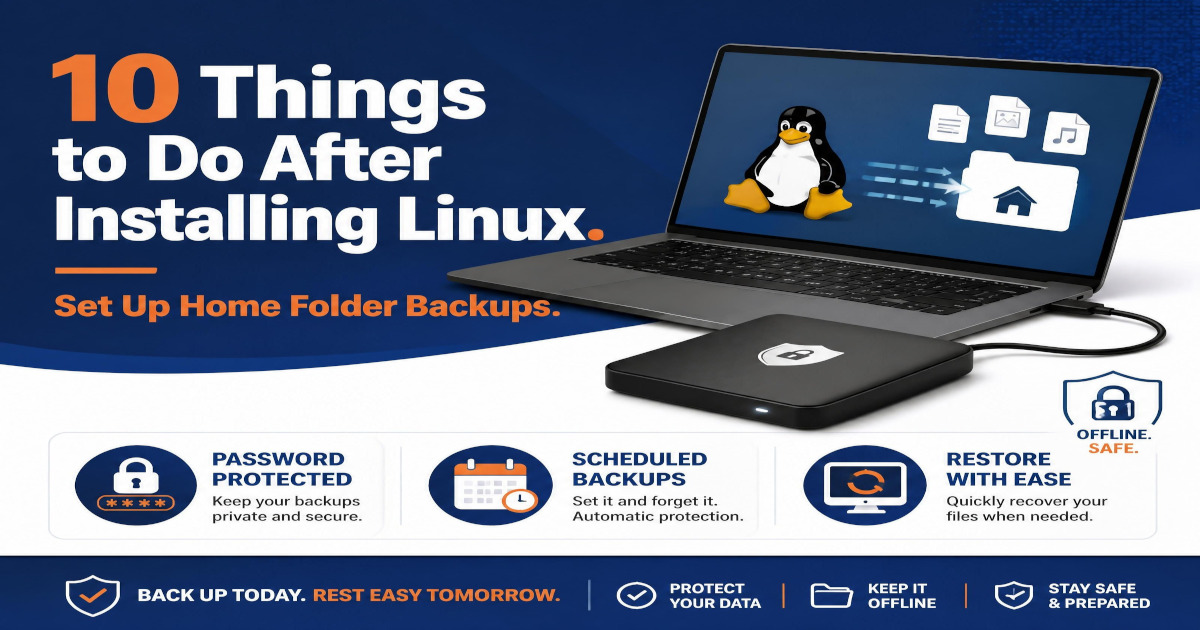
Hello and welcome to Part 9 of my Linux series where we discover awesome features and tools that Linux offers, especially for those of us who are switching to Linux from a different OS (particularly Windows, but others as well). When I was younger, before the cloud became what it is today, we used to back up our files to big, bulky external hard drives. They were cumbersome and time consuming because we had to manually connect the hard drive to the computer and then click and drag the folders that you wanted to backup.Today we learn how to do external drive backups in our Linux install. To find out why and how to do so, read on and thank you for being here! Today we learn how to do external drive backups in our Linux install. To find out why and how to do so, read on and thank you for being here!
Hard Drive Backup in 2026?! Why?
If you’re as surprised as I am that I’m talking about backing up data to an external drive, you’re in good company my friend! The cloud is easy, set it up and you never have to concern yourself with it ever again, right? Well, perhaps, but the problem is that most cloud service providers use syncing which means that when the file or whatever media it is gets changed in any way, the file updates and oftentimes cannot be restored back to a previous version. Some cloud services do include version control but what if your cloud account gets compromised? Cloud backups are active and accessible on the Internet by the owner of the data (you) and whoever else can successfully break into your cloud providers infrastructure.
Physical Backups: The Hero that Operates in Isolation
Physical backups, by comparison, have the distinct capability of being disconnected from the Internet; protected from bad actors, protected from malware, protected from the employee at the cloud service provider who has a human moment and clicks on an email link they shouldn’t have, compromising your data. Other than your cloud provider getting compromised, what if your monthly payment method expires and you don’t update it within 30 days? Most cloud providers end up auto deleting your data. Ouch.
I encourage you to keep using your cloud backups despite these risks because they can do things that physical hard drive backups cannot do, such as provide immediate access on any of your compatible devices. Imagine being five states away from your home and external hard drive and you your phone slips out of your hand and falls into a bridge with fast moving water: gone forever. Normally you can get to one your mobile phone provider retail stores, buy a new phone and sign into your cloud account; access restored. So cloud providers do have their benefits.
Déjà Dup to the Rescue!
So what is a Linux user to do to backup personal files? That is where Déjà Dup comes in. Déjà Dup is a backup tool built into most Linux distributions (but is easy to install if it isn’t included in your specific distro). Some key features of Déjà Dup include:
- Scheduling Déjà Dup includes 2 scheduling options (daily or weekly) and tries to run during off hours (so as not to be occupying computing resources while you work).You then choose backup retention periods ranging from 1 month to forever. The scheduler operates automatically once it is set, so set it up and be worry free!
- Incremental Backups A full backup is completed the first time and then only changed files are backed up after that. This speeds the backup process and reduces storage consumption.
- Strong Encryption The encryption protocol is GPG (AES-256) using the Duplicity backend. The encryption process doesn’t show filenames or folder structure either, increasing privacy.
- Many Storage Options The backup can be set to use external drives, remote servers, cloud services, network shares and more.
- Flexible Restore Options Entire backups can be restored or individual files or folders.
- Space saving Compression Backups are compressed using RAR/Gzip when using Duplicity to conserve space.
What is my Linux install doesn’t include it?
If by chance Déjà Dup isn’t included with your Linux install, the easiest way to get it would be Flatpak. You simply go to flathub.org and search for deja dup backups and click Install.

How to Conduct Your First Backup with Déjà Dup
First, if you’re on Zorin OS, you’ll need to open your App Launcher and then search for and click “Backups.”

Next you’ll want to click “Create Your First Backup.”

On the next screen, click Forward

On the next screen, choose where you want your backup to go. For me, I’m using a USB stick but you may choose the one that best suits you.

I definitely advise putting a password on your backup but be aware that if you forget your password you won’t be able to decrypt the backed up data. Click forward when you have typed in your password.

You’ll see a screen like the one below as your backup processes. This is normal. It might take a while if you have a lot of data, but it will finish shortly.

When the backup finishes, you’ll be taken back to the main screen, but notice the changes to the interface. Now that there is a Restore tab at the top and it shows a “Most Recent Backup” line and a “Backup Now” button.


If you want to adjust backup frequency and other settings, click the menu button in the upper right and then click “Preferences.”

In the preferences menu you’ll be able to adjust plenty of settings but the two I want to highlight are the Automatic “Backup Frequency” and “Keep Backups” sections.

In regards to “Automatic Backup Frequency,” notice the options available. I don’t recommend a backup any more often than every 3 days unless you’re changing critical settings often that can result in major damage to the system or something like that, but ultimately it is up to you. Weekly should be fine for most users.

Restoring from a backup
Lets say that you need to perform a restore. Your hard drive died, malware (yes, there is Linux malware) got onto your machine causing you to have to wipe or replace your hard drive, maybe your computer takes a hard fall on the floor and is unrepairable. Either way, to begin the restore process, click Restore.

Three Restore Options
You have three options when it comes to restoring your data from a backup. Option one is to restore a folder. Simply single-click the folder you’d like to restore and click “Restore.”

Next, you’ll need to choose where to restore the folder and files. You can restore them to their original locations or to a specific folder.

Type in your Encryption password, then click “Forward.”

If your screen looks anything like the one below, you’re all set! Now, lets walk through a file restore next.

The next two options we will discuss at the same time. You can restore multiple files or a single file. To do this, you’ll need to click into the folder that contains the files that you’re interested in. We will discuss restoring one file first. To restore one file, simply click the file you want to restore, then click “Restore.”

The restoration process from there is the same as when you are restoring a folder that we discussed above. For multiple files, depending on your Linux distro, you’ll want to hold CTRL and click all the files that you want to restore or click and drag a selection box over your desired files. If those options don’t work, try to look up the method that your distro supports.

The process is the same that we discussed above, click “Restore,” choose the options that you want to use, click “Restore” and/or “Forward” when you’re prompted, and you’re done.
Wrap Up and What’s Next?
This walkthrough taught us the differences between hard drive backups vs. cloud syncs. We discussed a few of their strengths and use cases without dismissing one over the other. We talked about Déjà Dup, what it is, its features, how to install it and a few step by step tutorials on how to set up backups. If you enjoyed the walkthrough please consider giving it a like and sharing it with someone who may benefit from it the way you have. If you have any questions, comments or suggestions please comment below and I’ll get back to you with additional help or to thank you for your suggestion. In the next and final part of the series we will talk about the Software Store, which is a massive repository of apps for you to choose from, similar to the Microsoft or MacOS app stores. We discussed this in some detail in part 5 but this part is going to expand on the topic. I hope to see you there and really hope that you have an awesome day!
If this article has helped you in any way, would you consider donating to the site to help support my work? You can donate as little as 1 dollar USD. Thank you for your time!
Make a one-time donation
Make a monthly donation
Make a yearly donation
Choose an amount
Or enter a custom amount
Your contribution is appreciated.
Your contribution is appreciated.
Your contribution is appreciated.
Leave a Reply